
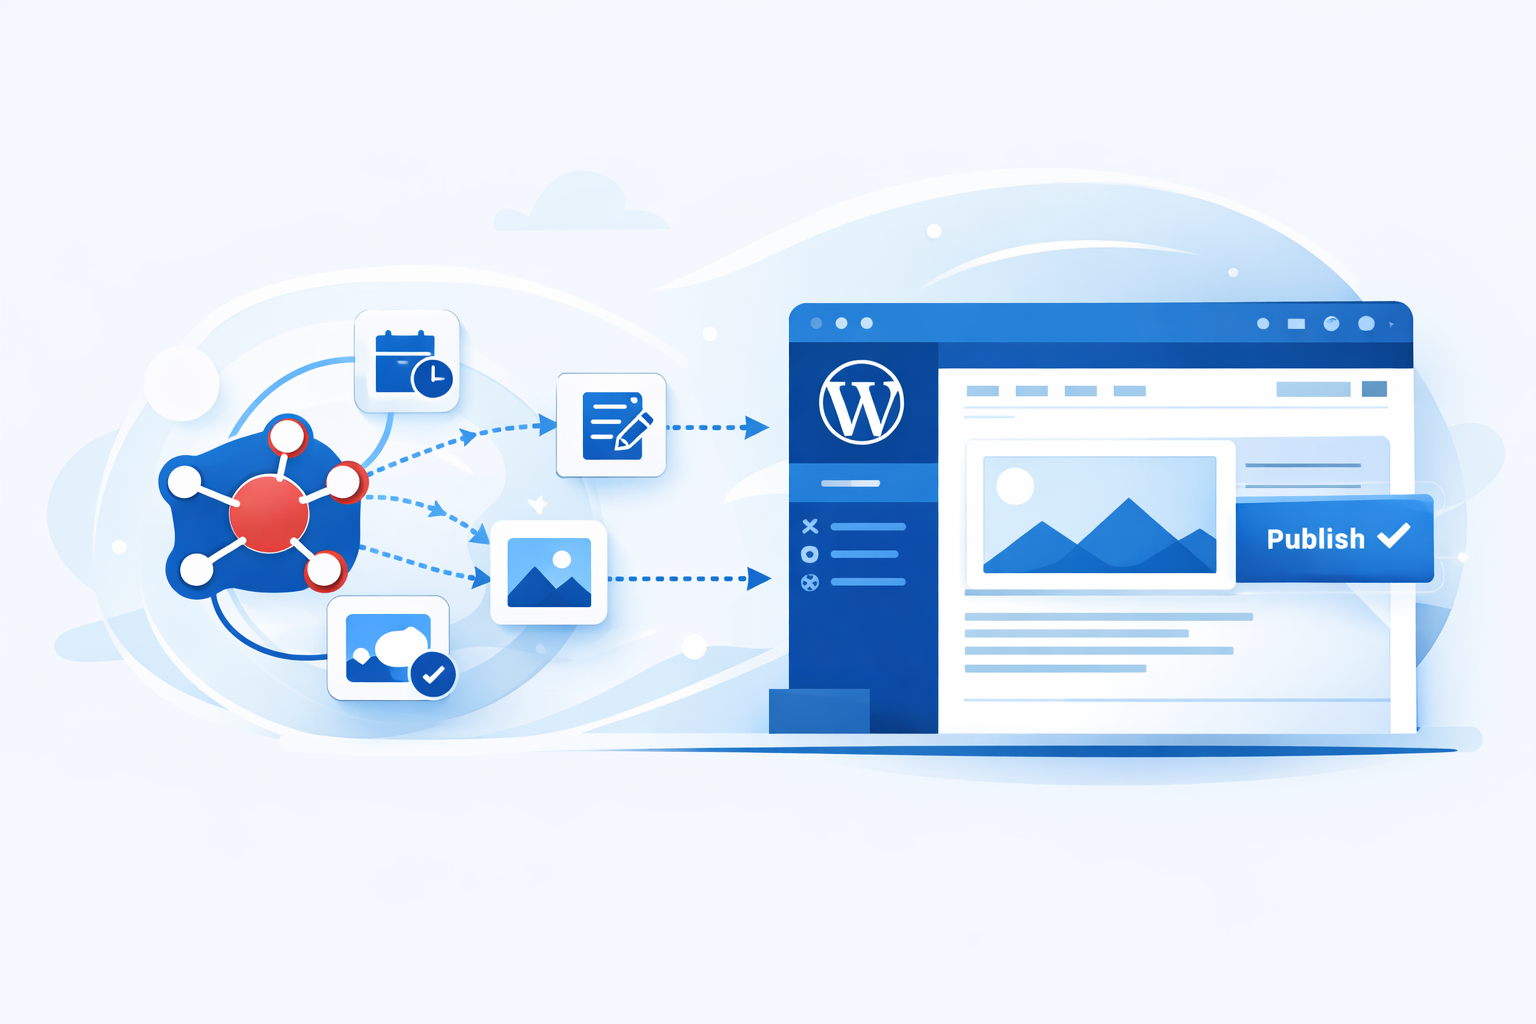
Publishing a WordPress blog consistently takes more than writing. Someone has to collect ideas, format posts, upload images, set categories, review drafts, schedule publishing, and notify the right people. If you repeat those steps every week, you can save a lot of time by using n8n to automate the routine parts.
This guide explains how to automate WordPress blog posting using n8n in a practical, reader-friendly way. You will learn what n8n can automate, how to connect it to WordPress, how to build a basic workflow, and where to add safeguards so automation does not accidentally publish low-quality or unfinished content.
What n8n Can Do for WordPress Publishing
n8n is a workflow automation tool that connects apps, APIs, databases, and custom logic. For WordPress blogging, it can act as the bridge between your content source and your website.
A typical n8n WordPress automation can:
- Create WordPress posts from a Google Sheet, Airtable base, Notion database, form submission, RSS feed, or webhook.
- Save posts as drafts for editorial review.
- Schedule posts for a future date.
- Assign categories, tags, authors, excerpts, and featured images when the required data is available.
- Send notifications to Slack, email, or another tool after a draft or post is created.
- Use the WordPress REST API for fields that are not supported directly by a built-in node.
The safest approach is to automate the mechanical steps while keeping human review for editorial judgment, especially if content is generated from external feeds or AI tools.
Before You Start: What You Need
To automate WordPress blog posting using n8n, prepare the following:
- A working WordPress site with an account that can create posts. Usually this means an Administrator, Editor, or Author role, depending on your workflow.
- Access to n8n, either n8n Cloud or a self-hosted n8n instance.
- A content source, such as a spreadsheet, form, CMS, database, RSS feed, or another app.
- A publishing rule, such as “create a draft when a row is approved” or “publish every Monday at 9 a.m.”
- WordPress authentication, commonly through an application password or another supported authentication method.
WordPress includes REST API support, and modern WordPress installations support application passwords for authenticating external apps. Availability may depend on your site configuration, security plugins, hosting rules, and whether your site uses HTTPS.
Recommended Workflow Structure
A reliable automated blog workflow usually has five parts:
- Trigger: Decide when the workflow starts.
- Fetch content: Pull the title, body, image, tags, and other metadata from your source.
- Validate and format: Check that required fields exist and convert the content into WordPress-ready HTML.
- Create or update a WordPress post: Send the post data to WordPress as a draft, scheduled post, or published post.
- Notify and log: Alert your team and record what happened.
This structure helps prevent messy automation. Instead of sending content straight to WordPress, you add checks and review points along the way.
Step 1: Choose Your n8n Trigger
The trigger controls when automation begins. Choose one based on how your publishing process works.
| Trigger type | Best for | Example |
|---|---|---|
| Schedule trigger | Recurring publishing workflows | Create a draft every weekday morning from approved ideas |
| Webhook trigger | Connecting forms, custom apps, or external systems | A content form submission starts the workflow |
| RSS feed trigger | Content curation or monitoring | Create draft summaries from selected feed items |
| Spreadsheet/database trigger | Editorial calendars | When a row is marked “Ready,” create a WordPress draft |
| Manual trigger | Testing and controlled runs | Run the workflow manually before enabling automation |
For a first workflow, a manual trigger or schedule trigger is easiest. Once the process works, you can connect it to your real editorial source.
Step 2: Connect n8n to WordPress
There are two common ways to connect n8n to WordPress:
- Use n8n’s WordPress node if it supports the fields and actions you need.
- Use the HTTP Request node with the WordPress REST API for more control, custom fields, or plugin-specific endpoints.
Option A: Use the WordPress Node
If available in your n8n setup, the WordPress node is the simplest route. It can create or update posts without requiring you to manually build API requests. You typically provide the WordPress site URL, username, and authentication details, then map fields such as title, content, status, and slug from earlier nodes.
This is usually enough for a basic workflow that creates draft posts.
Option B: Use the WordPress REST API
For advanced workflows, use n8n’s HTTP Request node to call the WordPress REST API directly. The standard endpoint for posts is:
https://example.com/wp-json/wp/v2/posts
Replace example.com with your domain. A basic post creation request can include fields such as:
titlecontentstatussuch asdraft,publish, orfuturedatefor scheduled postsslugexcerptcategoriesandtagsusing term IDs
The REST API method is more flexible, but it also requires more care. You need correct authentication, valid JSON, and accurate IDs for categories, tags, authors, and media.
Step 3: Create a WordPress Application Password
Application passwords let external tools authenticate with WordPress without using your main login password. To create one in WordPress, sign in as the user that n8n should publish as, then go to the user profile area and look for the Application Passwords section. Add a descriptive name such as “n8n publishing workflow” and copy the generated password.
Important security tips:
- Use a dedicated WordPress user for automation when possible.
- Give that user only the permissions it needs.
- Store credentials inside n8n credentials, not inside plain text workflow fields.
- Revoke the application password if you stop using the workflow.
- Use HTTPS for your WordPress site so credentials are not sent over an insecure connection.
If you cannot find application passwords, your host, security plugin, or configuration may have disabled them. In that case, check your WordPress setup before building the workflow.
Step 4: Prepare Your Content Fields
Automation works best when your content source has predictable fields. For a blog workflow, consider using fields like these:
| Field | Purpose | Example |
|---|---|---|
| Title | WordPress post title | How to Secure Your Home Wi-Fi |
| Slug | URL-friendly post name | secure-home-wifi |
| Content HTML | Main post body | <p>Your article text…</p> |
| Excerpt | Short summary | A quick guide to safer home networking. |
| Status | Draft, publish, or schedule | draft |
| Publish date | Used for scheduled posts | 2026-03-10T09:00:00 |
| Category IDs | WordPress category mapping | 12 |
| Tag IDs | WordPress tag mapping | 18, 25 |
| Featured image URL | Image to upload or attach | https://example.com/image.jpg |
For categories and tags, WordPress usually expects term IDs through the REST API, not just names. If your source contains names, add a lookup step in n8n or maintain a mapping table.
Step 5: Build a Basic Draft-Creation Workflow
Here is a simple workflow pattern that creates WordPress drafts from approved content:
- Start with a trigger. Use a Manual Trigger for testing or a Schedule Trigger for production.
- Fetch the next approved item. Pull a row from your spreadsheet, database, or content tool where status equals “Ready.”
- Validate required fields. Use an IF node or similar logic to check that title and content are not empty.
- Format the content. Convert plain text or markdown into HTML if needed. WordPress accepts HTML content through the REST API.
- Create the WordPress post. Use the WordPress node or HTTP Request node. Set status to
draftfor review. - Update the source record. Mark the original row as “Draft created” and save the WordPress post ID or edit URL if available.
- Notify your team. Send an email or chat message with the draft title and link.
Creating drafts first is strongly recommended. It lets editors verify formatting, links, images, SEO details, and factual accuracy before anything goes live.
Step 6: Schedule Posts Automatically
To schedule a post in WordPress, the post status should be set to future and the date should be a future timestamp. In REST API workflows, you can include a date value with the scheduled publishing time.
Be careful with time zones. WordPress site settings, n8n server settings, and your content calendar may not all use the same time zone. If a post appears to schedule at the wrong time, check:
- The WordPress site time zone under Settings.
- The timestamp format sent from n8n.
- Whether your source uses local time or UTC.
- Any conversion step inside the workflow.
If reliability matters more than speed, send scheduled posts as drafts and let an editor schedule them manually after review.
Step 7: Handle Featured Images
Featured image automation usually requires two steps:
- Upload the image to the WordPress media library.
- Set the uploaded media item as the post’s featured image.
With the REST API, media uploads use the media endpoint, and the post uses the uploaded image’s media ID as the featured media value. This can be more complex than creating a text-only post because n8n must download or receive the image, upload it with the correct headers, capture the returned media ID, and then attach that ID to the post.
If that sounds fragile for your setup, start with text-only draft automation. Add featured image automation later once the core publishing workflow is stable.
Step 8: Add SEO and Editorial Safeguards
Automation should support quality control, not replace it. Before publishing directly, add checks such as:
- Reject or pause posts with missing titles, empty content, or very short body text.
- Require an “Approved” status before publishing.
- Check that the slug is unique or let WordPress generate one.
- Send all automated posts to draft unless they come from a trusted, reviewed source.
- Log every created post ID so duplicates are easy to detect.
- Use a staging site when testing major workflow changes.
SEO plugin fields can be tricky. Plugins such as Yoast SEO, Rank Math, or All in One SEO may store metadata in custom fields or expose their own REST endpoints depending on configuration and version. Do not assume that setting the WordPress title and excerpt automatically fills every SEO plugin field. If SEO metadata is important, test the exact plugin behavior on your site and use the plugin’s official documentation.
Common Problems and How to Fix Them
Authentication Fails
Check that the username is correct, the application password was copied without spaces, HTTPS is working, and security plugins are not blocking REST API requests.
Posts Are Created Without Categories or Tags
Confirm that you are sending numeric category and tag IDs, not names, if your method requires IDs. Also verify that the automation user has permission to assign those terms.
Scheduled Posts Publish at the Wrong Time
Review time zone settings in WordPress, n8n, and your source data. Convert timestamps consistently before sending them to WordPress.
Duplicate Posts Appear
Store the WordPress post ID in your source system after creation. Before creating a new post, check whether that record already has a post ID.
HTML Looks Wrong in WordPress
Validate your HTML before sending it. Avoid pasting messy markup from rich text editors. If you use markdown, convert it cleanly to HTML before creating the post.
Example Use Cases
- Editorial calendar automation: A spreadsheet row marked “Ready” becomes a WordPress draft and notifies an editor.
- Content operations workflow: A form submission creates a structured draft with predefined sections.
- News monitoring: RSS items become private drafts for a writer to review and rewrite.
- Agency publishing: Client-approved articles move from a project management tool into WordPress drafts.
- Internal knowledge base: Approved internal notes are published to a private WordPress site.
For public blogs, avoid fully automated publishing from unreviewed sources. Even if the workflow is technically correct, the content can still be inaccurate, duplicated, outdated, or poorly formatted.
Best Practices for Reliable WordPress Automation
- Start with drafts. Move to scheduled or direct publishing only after the workflow is proven.
- Use clear statuses. For example: Idea, Writing, Ready, Draft Created, Scheduled, Published, Error.
- Keep a log. Record source ID, WordPress post ID, date, status, and errors.
- Use least-privilege access. Do not use a full administrator account if an author or editor account is enough.
- Test on staging. Especially when uploading images or changing existing posts.
- Build error paths. If a post fails, notify someone instead of silently dropping the item.
- Review plugin compatibility. SEO, custom fields, multilingual, and page builder plugins may require additional API handling.
FAQ
Can n8n publish directly to WordPress?
Yes. n8n can create WordPress posts through its WordPress integration where available or by calling the WordPress REST API with the HTTP Request node. For most blogs, creating drafts first is safer than direct publishing.
Do I need coding skills?
You do not need advanced programming skills for a basic workflow, but you should understand fields, credentials, and simple conditions. More advanced workflows using the REST API, custom fields, or media uploads may require comfort with JSON and HTTP requests.
Can n8n upload featured images to WordPress?
Yes, it can be done by uploading media to WordPress and then assigning the returned media ID to the post. This is more complex than creating a text post, so it is best added after the main workflow is working.
Can I use AI-generated content in this workflow?
You can connect AI tools to an n8n workflow, but you should keep human review in place. AI-generated drafts can contain factual errors, weak sourcing, duplicated phrasing, or formatting issues. Treat AI as an assistant, not an automatic publisher.
Is it better to use the WordPress node or the REST API?
Use the WordPress node for simpler workflows when it supports the fields you need. Use the REST API through the HTTP Request node when you need more control, custom endpoints, plugin fields, or advanced media handling.
Final Takeaway
The best way to automate WordPress blog posting using n8n is to start small: create drafts from a trusted content source, validate the required fields, notify an editor, and log the result. Once that workflow is stable, you can add scheduling, image uploads, category mapping, and SEO metadata.
Automation can remove repetitive publishing work, but it should not remove editorial responsibility. Keep review steps where they matter, protect your credentials, and test each part of the workflow before letting it publish to your live site.


Leave a Reply